详解Python nose单元测试框架的安装与使用
本文介绍了Python nose单元测试框架的安装与使用 ,分享给大家,具体如下:
安装(Python2下安装)
pip install nose
原理与命名规则
Nose会自动查找源文件、目录或者包中的测试用例,符合正则表达式(?:^|[\b_\.%s-])[Tt]est,以及TestCase的子类都会被识别并执行。
例如:我们可以将python脚本文件名以“_test”结尾或包含“_test_”,方法名以“_test”结尾。
使用方法
查看所有nose相关命令:
nosetests -h
执行并捕获输出:
nosetests -s
查看nose的运行信息和调试信息:
nosetests -v9
输出xml结果报告:
nosetests --with-xunit
支持测试方法传参:
1)安装:需要下载插件“nose_ittr”:
pip install nose_ittr
2)脚本中使用示例:
# -*- coding: utf-8 -*-
import os
from nose.tools import nottest,istest
from nose_ittr import IttrMultiplier, ittr
curr_dir = os.path.dirname(os.path.abspath(__file__))
class TestCheckChannels(object):
  __metaclass__ = IttrMultiplier
  '''
    测试方法传入两个参数
    参数一:channels_txt_name
    参数二:check_list_txt_name
    使用方法:通过“self.参数名”进行调用
  '''
  @istest
  @ittr(channels_txt_name=["channels.txt"],check_list_txt_name=["check_list.txt"])
  def test_check_channels(self):
    channels_txt_path = os.path.join(curr_dir,self.channels_txt_name)
    check_list_txt_path = os.path.join(curr_dir,self.check_list_txt_name)
    the_channels = []
    with open(channels_txt_path) as channels:
      for line in channels.readlines():
        line = line.strip()
        if line != '':
          the_channels.append(line)
    with open(check_list_txt_path) as check_list:
      check_items = check_list.readlines()
      for check_item in check_items:
        if check_item.strip() in the_channels:
          pass
        elif check_item=='\n':
          pass
        else:
          print check_item
3)执行示例:
nosetests --with-html-output --html-out-file=result1.html -v --with-setup-ittr
以上执行将输出html结果报告,但是需要先安装插件:
1)安装:
需要下载插件,在解压缩后在命令行中cd到该目录下:
python setup.py install
通过命令行安装:
pip install nosehtmloutput-2
pip install nose-html-reporting
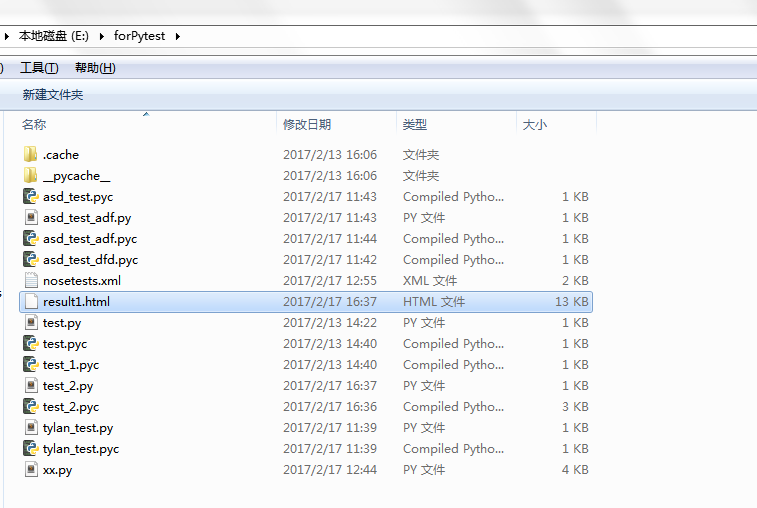
2)在待测路径打开cmd使用命令如下,就可以执行测试并生成测试结果html文件了:
nosetests --with-html-output --html-out-file=result1.html
1)测试脚本中引入:from nose.tools import nottest,istest;
2)不测试的方法:方法名上加修饰器@nottest;
3)指定为测试方法:方法名上加修饰器@istest(方法名无需符合命名规则);
4)查看要执行的用例列表:nosetests --collect-only -v。
测试项目
脚本示例
from nose.tools import nottest,istest
from nose.tools import assert_equal

class TestClass:
  def test_one(self):
    x = "this"
    assert 'h' in x
  def test_two(self):
    x = "hello"
    assert hasattr(x, 'check')
  @nottest
  def test_three(self):
    assert True
  @istest
  def xxxxx(self):
    assert True

class test_haha():
  def setUp(self):
    print("============test class setup==============")
  def teardown(self):
    print("============test class teardown==============")
  def test_xxx(self):
    print "test_xxx"
    assert_equal(9, 9)
  def test_kkk(self):
    print "test_kkk"
    assert_equal(1, 1)
测试执行
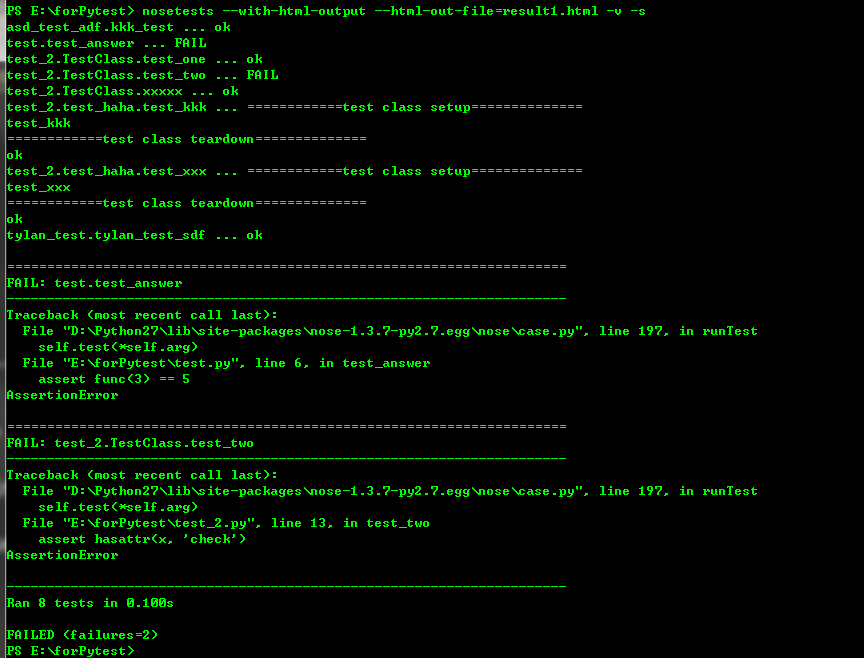
测试结果

以上就是本文的全部内容,希望对大家的学习有所帮助,也希望大家多多支持【听图阁-专注于Python设计】。

