Python实现PS滤镜特效之扇形变换效果示例
本文实例讲述了Python实现PS滤镜特效之扇形变换效果。分享给大家供大家参考,具体如下:
这里用 Python 实现 PS 滤镜中的一种几何变换特效,称为扇形变换,将图像扭曲成一个扇形,具体的算法原理和效果图可以参考附录说明
import numpy as np
from skimage import img_as_float
import matplotlib.pyplot as plt
from skimage import io
import math
import numpy.matlib
file_name2='D:/Visual Effects/PS Algorithm/4.jpg'
img=io.imread(file_name2)
img = img_as_float(img)
# control the radius of the inner circle
radius = 150
# control the distance between the inner circle and outer circle
high = 200
angle = 0
spreadAngle = math.pi
# set the center of the circle, proportion of the image size
centerX = 0.5
centerY = 1.0
row, col, channel = img.shape
icenterX = col * centerX
icenterY = row * centerY
img_out = img * 0
xx = np.arange (col)
yy = np.arange (row)
x_mask = numpy.matlib.repmat (xx, row, 1)
y_mask = numpy.matlib.repmat (yy, col, 1)
y_mask = np.transpose(y_mask)
xx_dif = x_mask - icenterX
yy_dif = y_mask - icenterY
theta = np.arctan2(-yy_dif, -xx_dif+0.0001)
r = np.sqrt(xx_dif*xx_dif + yy_dif * yy_dif)
theta = np.mod(theta, 2 * math.pi)
x1_mask = col * theta/(spreadAngle+0.00001)
y1_mask = row * (1-(r-radius)/(high+0.00001))
'''
mask = x1_mask < 0
x1_mask = x1_mask * (1 - mask)
mask = x1_mask > (col - 1)
x1_mask = x1_mask * (1 - mask) + (x1_mask * 0 + col -2) * mask
mask = y1_mask < 0
y1_mask = y1_mask * (1 - mask)
mask = y1_mask > (row -1)
y1_mask = y1_mask * (1 - mask) + (y1_mask * 0 + row -2) * mask
'''
int_x = np.floor (x1_mask)
int_x = int_x.astype(int)
int_y = np.floor (y1_mask)
int_y = int_y.astype(int)
for ii in range(row):
  for jj in range (col):
    new_xx = int_x [ii, jj]
    new_yy = int_y [ii, jj]
    if x1_mask [ii, jj] < 0 or x1_mask [ii, jj] > col -1 :
      continue
    if y1_mask [ii, jj] < 0 or y1_mask [ii, jj] > row -1 :
      continue
    img_out[ii, jj, :] = img[new_yy, new_xx, :]
plt.figure (1)
plt.title('www.jb51.net')
plt.imshow (img)
plt.axis('off')
plt.figure (2)
plt.title('www.jb51.net')
plt.imshow (img_out)
plt.axis('off')
plt.show()
附录:PS 滤镜— —扇形warp
  clc;
  clear all;
  close all;
  addpath('E:\PhotoShop Algortihm\Image Processing\PS Algorithm');
  I=imread('4.jpg');
  I=double(I);
  Image=I/255;
  [height, width, depth]=size(Image);
  % set the parameters
  radius = 150; % control the radius of the inner circle
  high = 200;  % control the distance between the inner circle and outer circle
  angle = 0;
  spreadAngle=pi;
  centerX = 0.5; % set the center of the circle, proportion of the image size
  centerY = 1.0;
  icenterX=width*centerX;
  icenterY=height*centerY;
  Image_new=Image*0;
  for i=1:height
    for j=1:width
      dx=j-icenterX;
      dy=i-icenterY;
      theta=atan2(-dy, -dx)+angle;
      r=sqrt(dy*dy+dx*dx);
      theta=mod(theta, 2*pi);
      x=width * theta/(spreadAngle+0.00001);
      y=height * (1-(r-radius)/(high+0.00001));
  % %     if (x<=1)   x=1; end
  % %     if (x>=width)  x=width-1; end;
  % %     if (y>=height) y=height-1; end;
  % %     if (y<1) y=1;   end;
  % %
      if (x<=1)   continue; end
      if (x>=width)  continue; end;
      if (y>=height) continue; end;
      if (y<1) continue;   end;
      x1=floor(x);
      y1=floor(y);
      p=x-x1;
      q=y-y1;
      Image_new(i,j,:)=(1-p)*(1-q)*Image(y1,x1,:)+p*(1-q)*Image(y1,x1+1,:)...
        +q*(1-p)*Image(y1+1,x1,:)+p*q*Image(y1+1,x1+1,:);
    end
  end
  imshow(Image_new)
  imwrite(Image_new, 'out.jpg');
参考来源:http://www.jhlabs.com/index.html
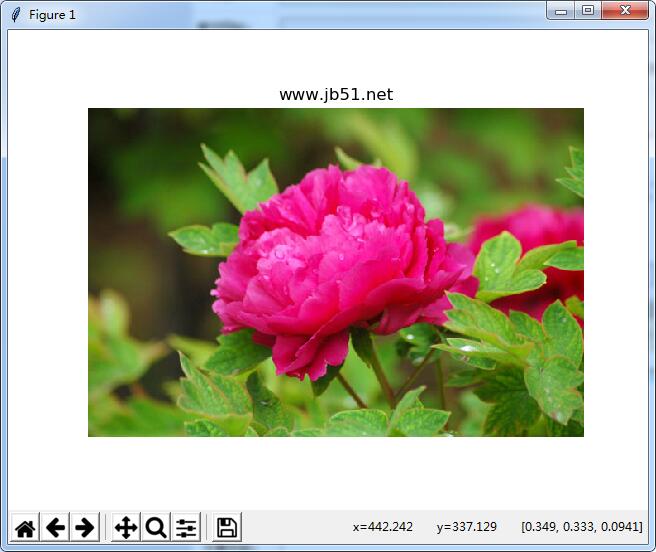
本例Python运行效果:
原图
效果图

更多关于Python相关内容感兴趣的读者可查看本站专题:《Python图片操作技巧总结》、《Python数据结构与算法教程》、《Python Socket编程技巧总结》、《Python函数使用技巧总结》、《Python字符串操作技巧汇总》、《Python入门与进阶经典教程》及《Python文件与目录操作技巧汇总》
希望本文所述对大家Python程序设计有所帮助。