python实现的发邮件功能示例
本文实例讲述了python实现的发邮件功能。分享给大家供大家参考,具体如下:
一 简介
本应用实现给网易邮箱发送邮件
二 代码
import smtplib
import tkinter
class Window:
  def __init__(self,root):
    label1 = tkinter.Label(root,text='SMTP')
    label2 = tkinter.Label(root,text='Port')
    label3 = tkinter.Label(root,text='用户名')
    label4 = tkinter.Label(root,text='密码')
    label5 = tkinter.Label(root,text='收件人')
    label6 = tkinter.Label(root,text='主题')
    label7 = tkinter.Label(root,text='发件人')
    label1.place(x=5,y=5)
    label2.place(x=5,y=30)
    label3.place(x=5,y=55)
    label4.place(x=5,y=80)
    label5.place(x=5,y=105)
    label6.place(x=5,y=130)
    label7.place(x=5,y=155)
    self.entryPop = tkinter.Entry(root)
    self.entryPort = tkinter.Entry(root)
    self.entryUser = tkinter.Entry(root)
    self.entryPass = tkinter.Entry(root,show = '*')
    self.entryTo = tkinter.Entry(root)
    self.entrySub = tkinter.Entry(root)
    self.entryFrom = tkinter.Entry(root)
    self.entryPort.insert(tkinter.END,'25')
    self.entryPop.place(x=50,y=5)
    self.entryPort.place(x=50,y=30)
    self.entryUser.place(x=50,y=55)
    self.entryPass.place(x=50,y=80)
    self.entryTo.place(x=50,y=105)
    self.entrySub.place(x=50,y=130)
    self.entryFrom.place(x=50,y=155)
    self.get = tkinter.Button(root,text='发送邮件',command = self.Get)
    self.get.place(x=60,y=180)
    self.text=tkinter.Text(root)
    self.text.place(y=220)
  def Get(self):
    try:
      host = self.entryPop.get()
      port =int(self.entryPort.get())
      user = self.entryUser.get()
      pw = self.entryPass.get()
      fromaddr = self.entryFrom.get()
      toaddr=self.entryTo.get()
      subject=self.entrySub.get()
      text = self.text.get(1.0,tkinter.END)
      msg =("From:%s\nTo:%s\nSubject:%s\n\n"
         % (fromaddr,toaddr,subject))
      msg = msg+text
      smtp=smtplib.SMTP(host,port)
      smtp.set_debuglevel(1)
      smtp.login(user,pw)
      smtp.sendmail(fromaddr,toaddr,msg)
      smtp.quit()
    except Exception as e:
      self.text.insert(tkinter.END,'发送错误\n')
root =tkinter.Tk()
window=Window(root)
root.minsize(600,400)
root.mainloop()
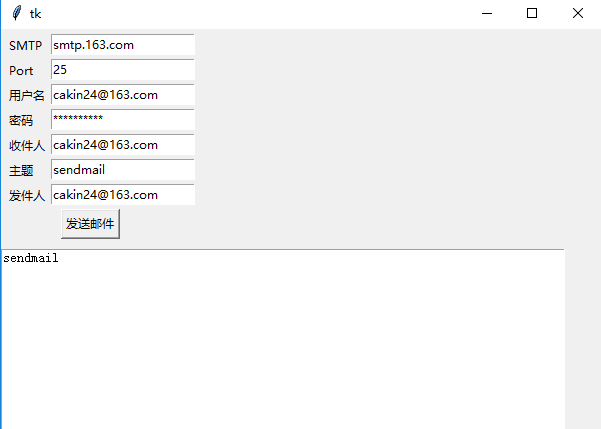
三 运行结果
更多关于Python相关内容可查看本站专题:《Python Socket编程技巧总结》、《Python数据结构与算法教程》、《Python函数使用技巧总结》、《Python字符串操作技巧汇总》、《Python入门与进阶经典教程》及《Python文件与目录操作技巧汇总》
希望本文所述对大家Python程序设计有所帮助。
