使用TensorFlow对图像进行随机旋转的实现示例
在使用深度学习对图像进行训练时,对图像进行随机旋转有助于提升模型泛化能力。然而之前在做旋转等预处理工作时,都是先对图像进行旋转后保存到本地,然后再输入模型进行训练,这样的过程会增加工作量,如果图片数量较多,生成旋转的图像会占用更多的空间。直接在训练过程中便对图像进行随机旋转,可有效提升工作效率节省硬盘空间。
使用TensorFlow对图像进行随机旋转如下:
TensorFlow版本为1.13.1
#-*- coding:utf-8 -*-
'''
使用TensorFlow进行图像的随机旋转示例
'''
import tensorflow as tf
import numpy as np
import cv2
import matplotlib.pyplot as plt
img = cv2.imread('tf.jpg')
img = cv2.resize(img,(220,220))
img = cv2.cvtColor(img,cv2.COLOR_BGR2RGB)
def tf_rotate(input_image, min_angle = -np.pi/2, max_angle = np.pi/2):
'''
TensorFlow对图像进行随机旋转
:param input_image: 图像输入
:param min_angle: 最小旋转角度
:param max_angle: 最大旋转角度
:return: 旋转后的图像
'''
distorted_image = tf.expand_dims(input_image, 0)
random_angles = tf.random.uniform(shape=(tf.shape(distorted_image)[0],), minval = min_angle , maxval = max_angle)
distorted_image = tf.contrib.image.transform(
distorted_image,
tf.contrib.image.angles_to_projective_transforms(
random_angles, tf.cast(tf.shape(distorted_image)[1], tf.float32), tf.cast(tf.shape(distorted_image)[2], tf.float32)
))
rotate_image = tf.squeeze(distorted_image, [0])
return rotate_image
global_init = tf.global_variables_initializer()
with tf.Session() as sess:
init = tf.initialize_local_variables()
sess.run([init, global_init])
coord = tf.train.Coordinator()
threads = tf.train.start_queue_runners(coord=coord)
image = tf.placeholder(shape=(220, 220, 3), dtype=tf.float32)
rotate_image = tf_rotate(image, -np.pi/2, np.pi/2)
output = sess.run(rotate_image, feed_dict={image:img})
# print('output:',output)
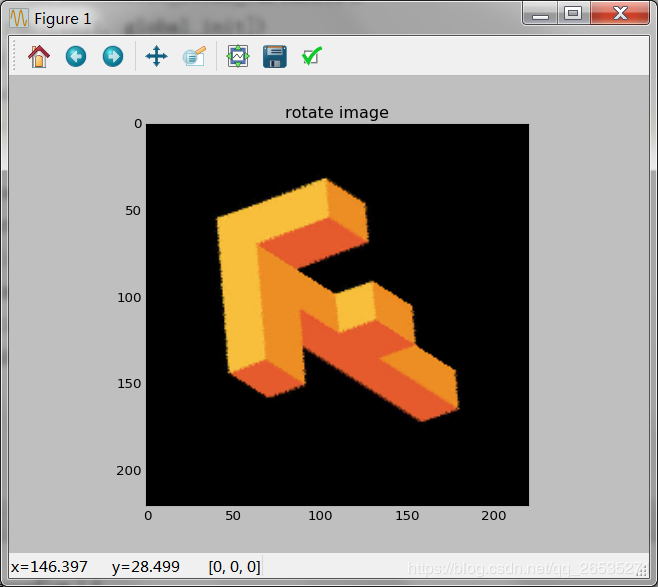
plt.imshow(output.astype('uint8'))
plt.title('rotate image')
plt.show()
结果如下:
原图:
随机旋转后的图:
以上就是本文的全部内容,希望对大家的学习有所帮助,也希望大家多多支持【听图阁-专注于Python设计】。