Python实现对百度云的文件上传(实例讲解)
环境准备
python3.6
PyCharm 2017.1.3
Windows环境
框架搭建
selenium3.6
安装方法:
pip install selenium
实现步骤:
一、步骤分析
1、选择“账号密码登录”
2、用户名、密码输入,登录
3、文件上传
注:本文主要介绍利用selenium包下的webdriver加载Firefox浏览器。
二、元素捕捉
利用火狐浏览器firebug插件复制控件的XPATH路径,注:Python3.6对应Firefox版本40.x,暂不支持最新版本50.x。
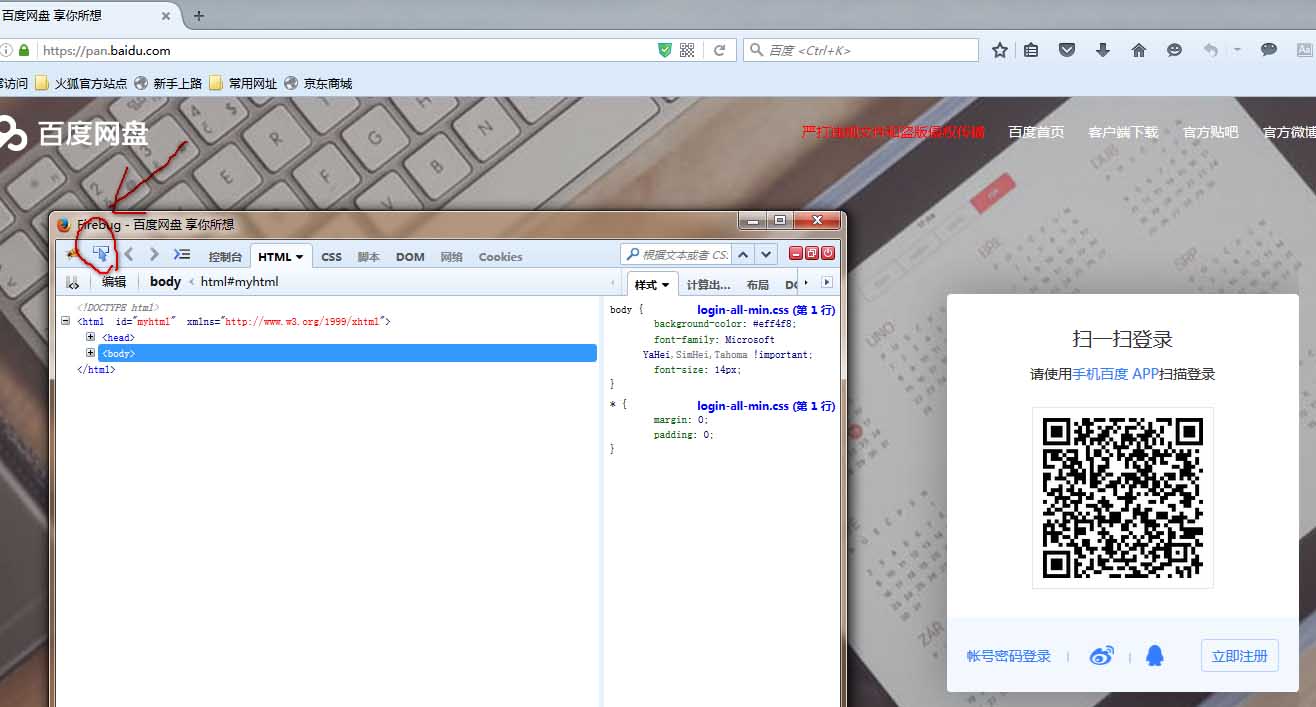
1、点击“账号密码登录”,获取其源文件

效果图如下:
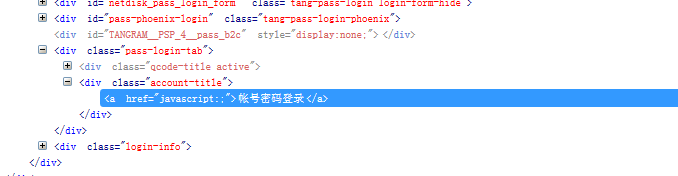
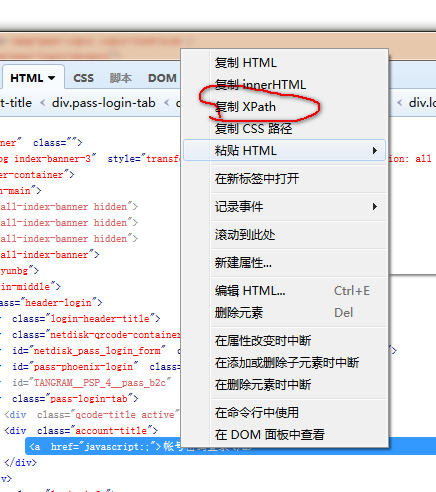
点击右键,复制Xpath路径:/html/body/div[1]/div[3]/div[6]/div/div[6]/div[2]/a
登录按钮和文件上传同上,获取其相应的Xpath路径
代码:
#选择账号密码登录
driver.find_element_by_xpath('/html/body/div[1]/div[3]/div[6]/div/div[6]/div[2]/a').click()
# 登录
driver.find_element_by_xpath('/html/body/div[1]/div[3]/div[6]/div/div[3]/form/p[5]/input').send_keys('username')
driver.find_element_by_xpath('/html/body/div[1]/div[3]/div[6]/div/div[3]/form/p[6]/input').send_keys('password')
driver.find_element_by_xpath('/html/body/div[1]/div[3]/div[6]/div/div[3]/form/p[9]/input').click()
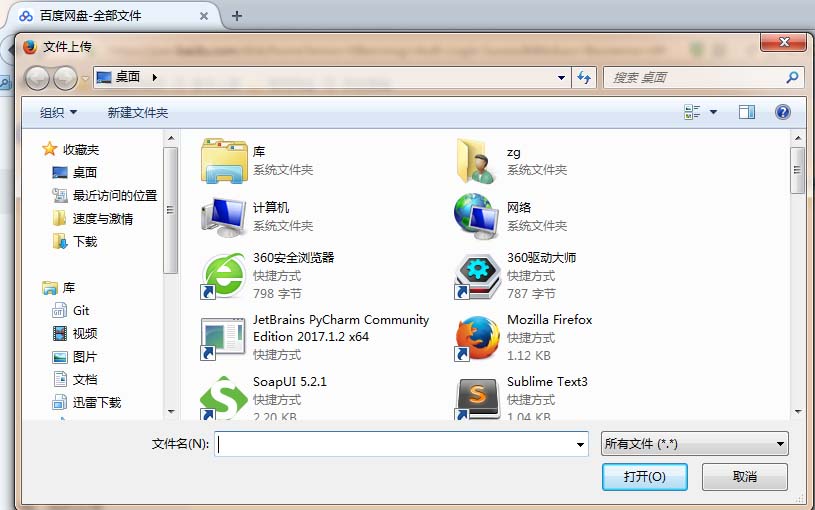
2、登录成功后,点击文件上传,弹出文件对话框
“上传”的Xpath路径为://*[@id="h5Input0"]
代码:
#上传
driver.find_element_by_xpath('//*[@id="h5Input0"]').click()
点击上传按钮,弹出文件对话框
三、AutoIT编写脚本实现上传文件
webdriver无法对文件直接进行操作,所以需要借助AutoIT来实现文件上传
AutoIT下载地址:https://www.autoitscript.com/site
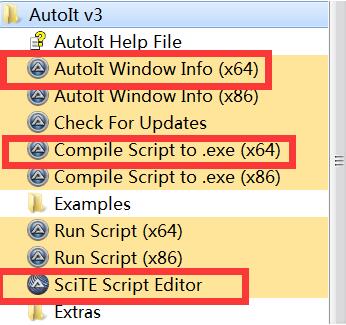
安装AutoIt之后,打开AutoIt Window Info(x64)
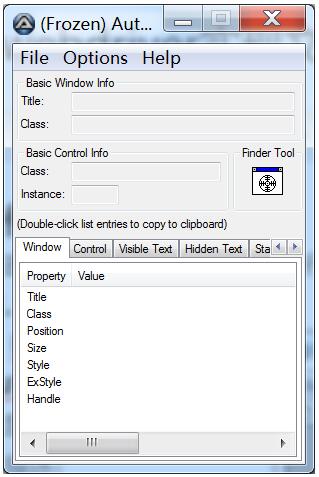
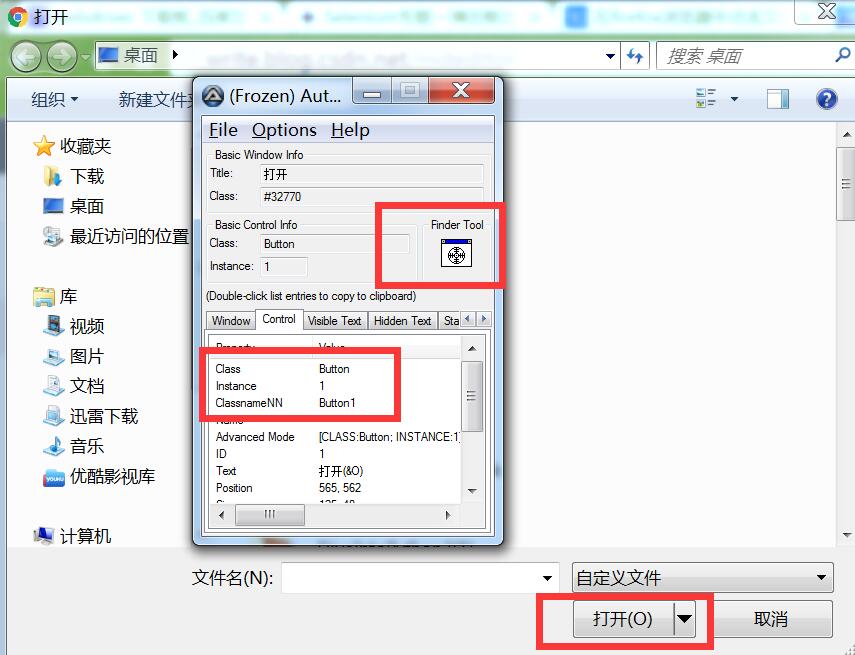
4、获取文件上传窗口的控件信息:
打开autoit工具之后,用鼠标将Finder Tool的图标拖到要识别的控件上
获取文本框的控件信息:
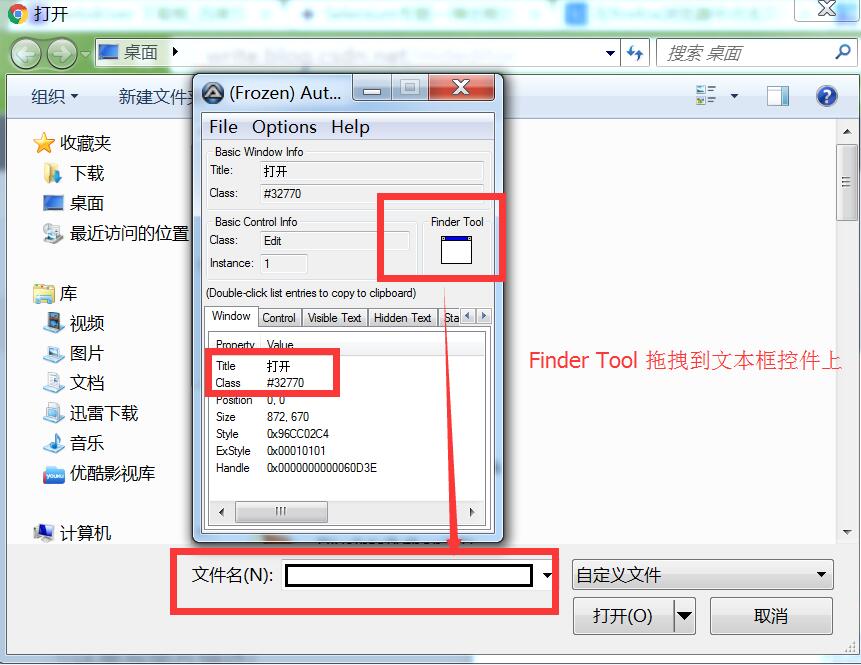
获取“打开”按钮的控件信息:
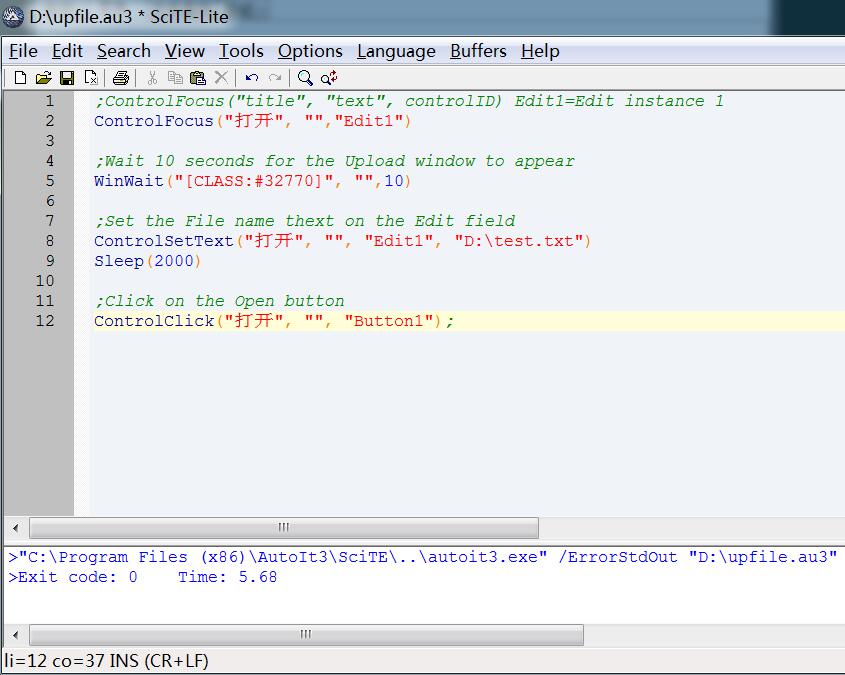
5、编写AutoIt脚本,实现文件上传
1.打开scite script editor
2.代码:
;ControlFocus("title", "text", controlID) Edit1=Edit instance 1
ControlFocus("文件上传", "","Edit1")

;Wait 10 seconds for the Upload window to appear
WinWait("[CLASS:#32770]", "",10)

;Set the File name thext on the Edit field
ControlSetText("文件上传", "", "Edit1", "D:\test.txt")
Sleep(2000)

;Click on the Open button
ControlClick("文件上传", "", "Button1");
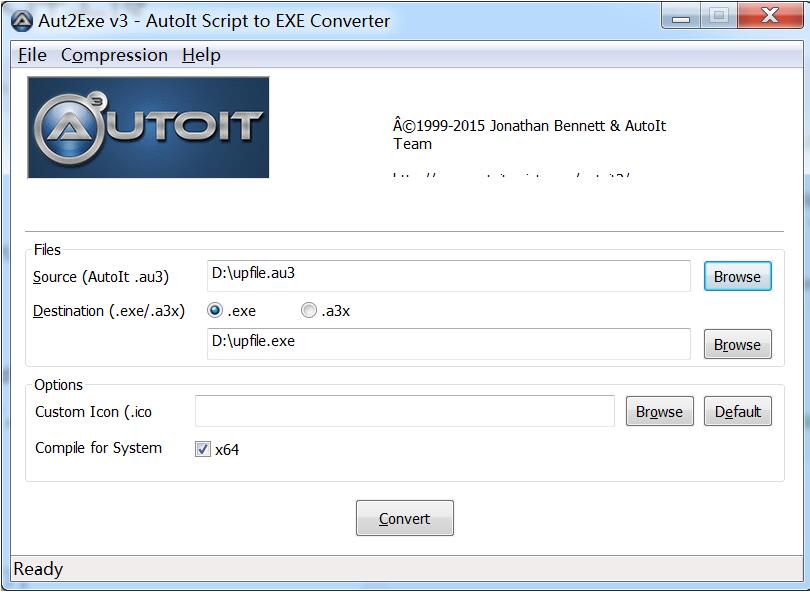
3. 将文件保存upfile.au3
4. 使用compile script to exe将上述AutoIt脚本编译为exe文件供python脚本调用
6、最后,使用Python脚本调用AutoIT脚本
#点击上传,打开上传文件窗口
driver.find_element_by_xpath('/html/body/div[1]/div[2]/div[1]/div[2]/div[2]/div[2]/a[1]/form/input').click()

#使用autoit脚本自动上传文件
#需要导入python的os库文件: import os
os.system("D:/upfile.exe")
完整代码如下:
import os
from selenium import webdriver
import time
class Connect():
 def __init__(self,UserName,PassWord,URL):
  self.UserName = UserName
  self.PassWord = PassWord
  self.URL = URL
 def connect(self):
  self.driver = webdriver.Firefox()
  self.driver.get(self.URL)
  self.driver.find_element_by_xpath('/html/body/div[1]/div[3]/div[6]/div/div[6]/div[2]/a').click()
  self.driver.find_element_by_xpath('/html/body/div[1]/div[3]/div[6]/div/div[3]/form/p[5]/input').send_keys(self.UserName)
  self.driver.find_element_by_xpath('/html/body/div[1]/div[3]/div[6]/div/div[3]/form/p[6]/input').send_keys(self.PassWord)
  self.driver.find_element_by_xpath('/html/body/div[1]/div[3]/div[6]/div/div[3]/form/p[9]/input').click()
  #设置思考时间
  time.sleep(30)
  sreach_window = self.driver.current_window_handle # 此行代码用来定位当前页面
  self.driver.find_element_by_xpath('//*[@id="h5Input0"]').click()
  os.system(r"C:\Users\zg\Desktop\upfile.exe")
Connect(UserName,PassWord,URL).upload()
以上这篇Python实现对百度云的文件上传(实例讲解)就是小编分享给大家的全部内容了,希望能给大家一个参考,也希望大家多多支持【听图阁-专注于Python设计】。