pytorch 把MNIST数据集转换成图片和txt的方法
本文介绍了pytorch 把MNIST数据集转换成图片和txt的方法,分享给大家,具体如下:
1.下载Mnist 数据集
import os
# third-party library
import torch
import torch.nn as nn
from torch.autograd import Variable
import torch.utils.data as Data
import torchvision
import matplotlib.pyplot as plt
# torch.manual_seed(1)  # reproducible
DOWNLOAD_MNIST = False

# Mnist digits dataset
if not(os.path.exists('./mnist/')) or not os.listdir('./mnist/'):
  # not mnist dir or mnist is empyt dir
  DOWNLOAD_MNIST = True

train_data = torchvision.datasets.MNIST(
  root='./mnist/',
  train=True,                   # this is training data
  transform=torchvision.transforms.ToTensor(),  # Converts a PIL.Image or numpy.ndarray to
                          # torch.FloatTensor of shape (C x H x W) and normalize in the range [0.0, 1.0]
  download=DOWNLOAD_MNIST,
)
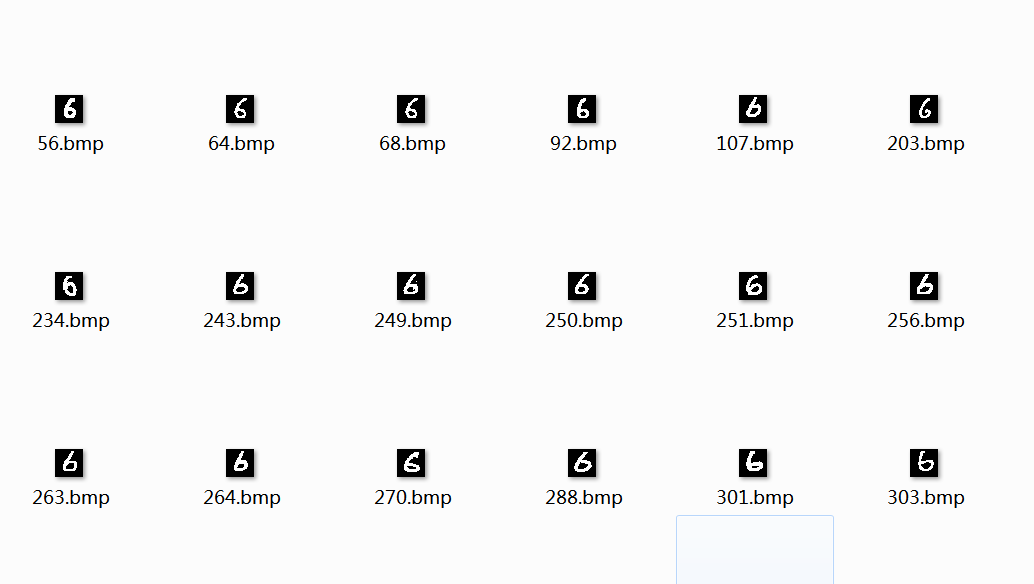
下载下来的其实可以直接用了,但是我们这边想把它们转换成图片和txt,这样好看些,为后面用自己的图片和txt作为准备
2. 保存为图片和txt
import os
from skimage import io
import torchvision.datasets.mnist as mnist
import numpy
root = "./mnist/raw/"
train_set = (
  mnist.read_image_file(os.path.join(root, 'train-images-idx3-ubyte')),
  mnist.read_label_file(os.path.join(root, 'train-labels-idx1-ubyte'))
)

test_set = (
  mnist.read_image_file(os.path.join(root,'t10k-images-idx3-ubyte')),
  mnist.read_label_file(os.path.join(root,'t10k-labels-idx1-ubyte'))
)

print("train set:", train_set[0].size())
print("test set:", test_set[0].size())

def convert_to_img(train=True):
  if(train):
    f = open(root + 'train.txt', 'w')
    data_path = root + '/train/'
    if(not os.path.exists(data_path)):
      os.makedirs(data_path)
    for i, (img, label) in enumerate(zip(train_set[0], train_set[1])):
      img_path = data_path + str(i) + '.jpg'
      io.imsave(img_path, img.numpy())
      int_label = str(label).replace('tensor(', '')
      int_label = int_label.replace(')', '')
      f.write(img_path + ' ' + str(int_label) + '\n')
    f.close()
  else:
    f = open(root + 'test.txt', 'w')
    data_path = root + '/test/'
    if (not os.path.exists(data_path)):
      os.makedirs(data_path)
    for i, (img, label) in enumerate(zip(test_set[0], test_set[1])):
      img_path = data_path + str(i) + '.jpg'
      io.imsave(img_path, img.numpy())
      int_label = str(label).replace('tensor(', '')
      int_label = int_label.replace(')', '')
      f.write(img_path + ' ' + str(int_label) + '\n')
    f.close()

convert_to_img(True)
convert_to_img(False)
以上就是本文的全部内容,希望对大家的学习有所帮助,也希望大家多多支持【听图阁-专注于Python设计】。


