Django项目中使用JWT的实现代码
1.requiremwnts:
- Django版本:2.2
- python版本:3.6
- djangorestframework版本:3.1
- djangorestframework-jwt版本:1.11
- MySQL版本:5.7
注意:使用Django 2.1以上的版本,MySQL数据库必须在5.5以上的版本。
2.新建项目
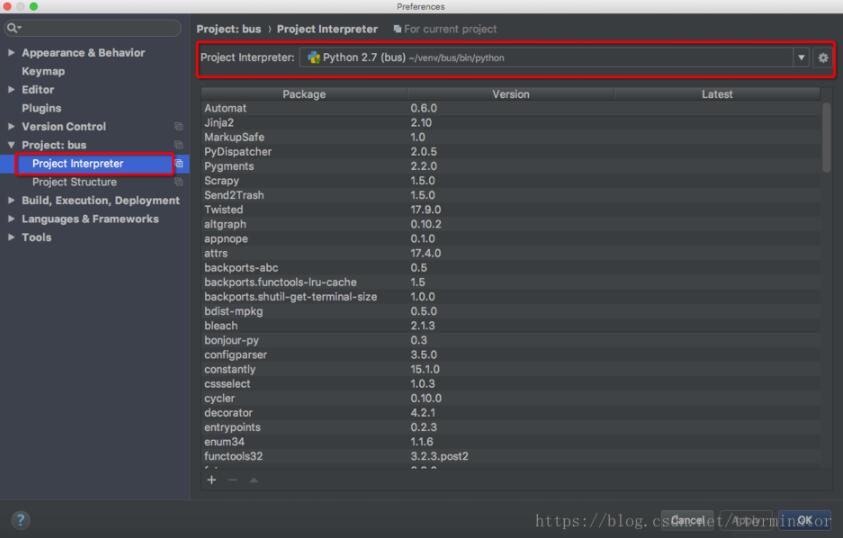
1)使用pycharm新建一个Django项目,我的项目名称叫:django_jwt
2)使用语句 python manage.py startapp django_restframework_jwt新建一个名为django_restframework_jwt的app
3)在settings.py加入注册代码:
INSTALLED_APPS = [
  'django.contrib.admin',
  'django.contrib.auth',
  'django.contrib.contenttypes',
  'django.contrib.sessions',
  'django.contrib.messages',
  'django.contrib.staticfiles',

  # 新添加
  'django_restframework_jwt',
  'rest_framework',
]
4)在settings.py中追加配置相关文件:
REST_FRAMEWORK = {
  'DEFAULT_PERMISSION_CLASSES': (
    'rest_framework.permissions.IsAuthenticated', #必须有
  ),
  'DEFAULT_AUTHENTICATION_CLASSES': (
    'rest_framework_jwt.authentication.JSONWebTokenAuthentication',
  )
}
import datetime
JWT_AUTH = {
 # 指明token的有效期
 'JWT_EXPIRATION_DELTA': datetime.timedelta(days=1),
}
5)settings.py中修改数据库相关配置:
DATABASES = {
  'default': {
    'ENGINE': 'django.db.backends.mysql', # 数据库的类别
    'NAME': 'test', # 数据库的名字
    'HOST': '127.0.0.1', # 数据库的ip
    'USER': 'root', # 用户名
    'PASSWORD': '5201314', # 密码
    'PORT': '3307'
  }
}
6)在自己的本地数据库中新建一个叫test的数据库;
7)安装相关的依赖包:
pip install djangorestframework-jwt
pip install djangorestframework markdown Django-filter
8)在django_jwt/urls.py配置相关的路由:
from django.contrib import admin
from django.urls import path, include
from django_restframework_jwt.views import IndexView

urlpatterns = [
  path('admin/', admin.site.urls),
  path('jwt/', include('django_restframework_jwt.urls')),
  path('index/', IndexView.as_view(), name='index'),
]
9)在django_restframework_jwt/views.py写一个测试的视图:
from django.shortcuts import render, HttpResponse
from rest_framework.views import APIView


class IndexView(APIView):
  """
  首页
  """

  def get(self, request):
    return HttpResponse('首页')
10)新建django_restframework_jwt/urls.py文件,修改成下面的代码:
from django.urls import path
from rest_framework_jwt.views import obtain_jwt_token

app_name = 'jwt'
urlpatterns = [
  path('jwt_token_auth/', obtain_jwt_token),

]
11)执行下面两句命令:
python manage.py makemigrations
python manage.py migrate
在数据库中创建相应的表。
12)创建一个超级用户,用来测试token
python manage.py createsuperuser
13)运行项目,打开Postman软件,测试项目:
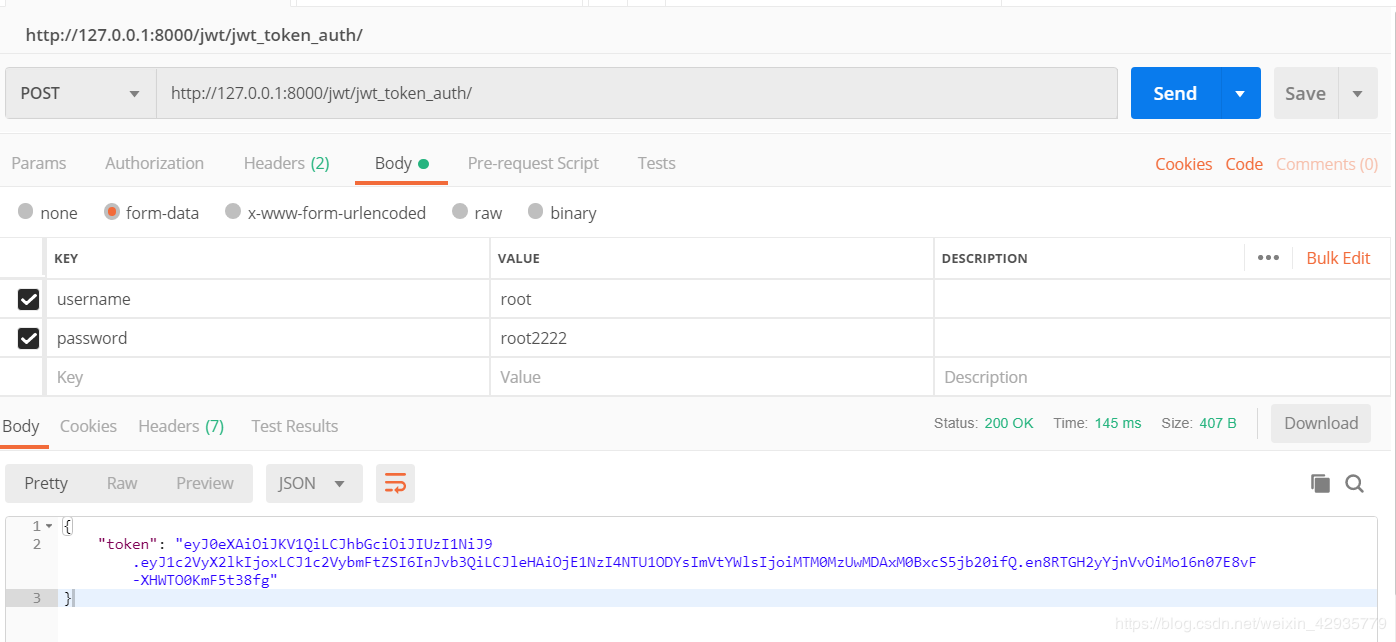
第一步测试成功,能得到token
接着使用token

token值的前面记得要加入JWT,还要加上一个空格。
能正常进入首页,如果没有在headers加入token,是不能正常访问首页的。
以上就是本文的全部内容,希望对大家的学习有所帮助,也希望大家多多支持【听图阁-专注于Python设计】。